Model 4D-9FA8
Electronic Battery-Powered Pencil Sharpener
This manual is for demonstration or instructional purposes only and does not represent a real product.
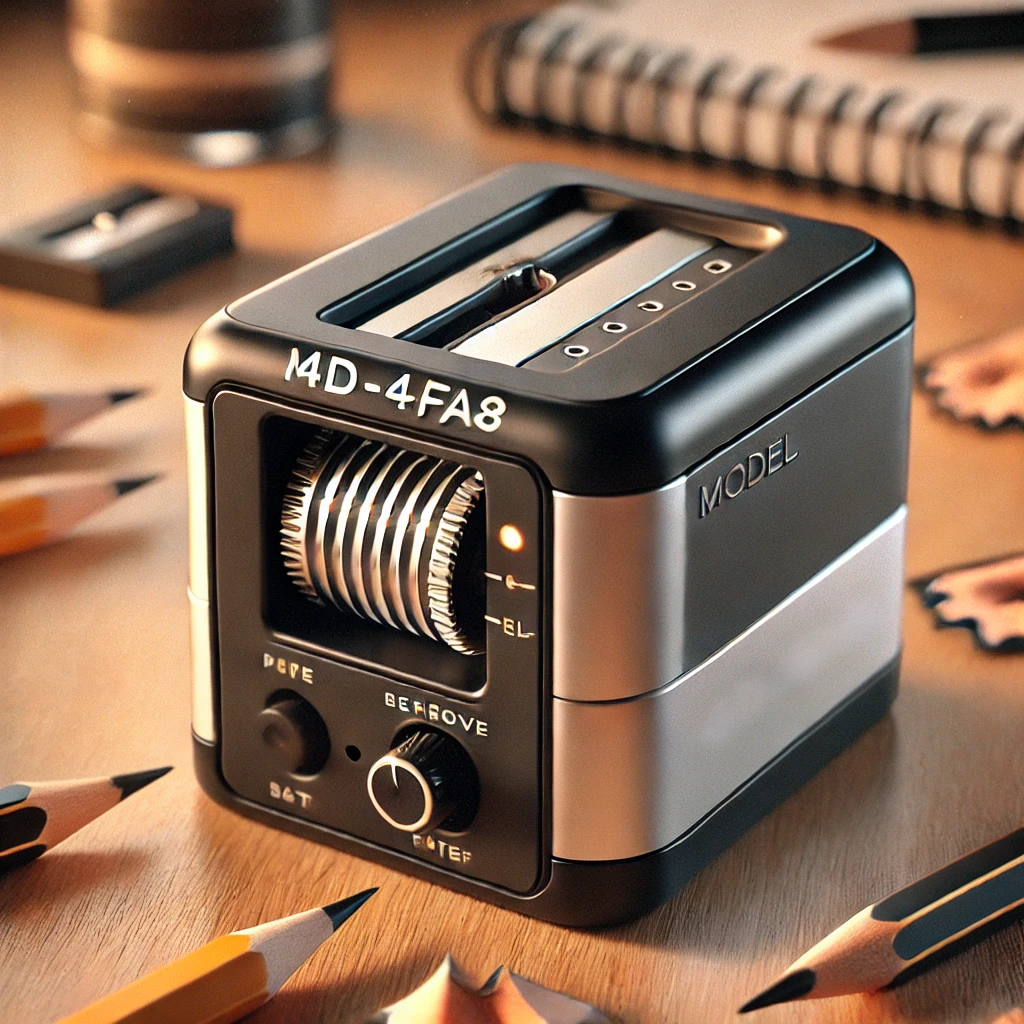
Table of Contents
- Introduction & Product Overview
- Safety Warnings & Precautions
- Specifications
- Tools & Replacement Parts
- Component Diagram & Part Numbers
- Disassembly Instructions
- Common Repair Procedures
- 7.1 Replacing the Blade Assembly
- 7.2 Repairing the Motor Drive
- 7.3 Replacing the Battery Compartment
- Troubleshooting Guide
- Maintenance Tips
- Warranty & Support (Fictitious)
1. Introduction & Product Overview
The Model 4D-9FA8 Electronic Battery-Powered Pencil Sharpener combines the convenience of portable sharpening with electronic speed and efficiency. Designed for classroom, home, or office use, it includes:
- High-Speed Motor for fast sharpening.
- Durable Steel Blade Assembly with a precision helical cutter.
- Advanced Shavings Collector with easy-empty functionality.
- Battery Power for on-the-go or desktop usage (4 x AA batteries).
Key Features:
- Compact, lightweight design (approx. 0.6 lb without batteries).
- Noise-reduction casing for a quieter operation.
- Auto-stop feature to prevent over-sharpening.
2. Safety Warnings & Precautions
- Disconnect power before servicing: Remove the batteries or switch the main power off if using optional AC adapter (if applicable).
- Blade hazard: The internal helical blade is extremely sharp. Avoid direct contact.
- Electrical components: Never expose internal components to water or moisture.
- Child safety: Keep out of reach of children when disassembled.
- Use genuine parts: Only use authorized replacement parts to ensure product longevity and safety.
3. Specifications
- Model Number: 4D-9FA8
- Power Source: 4 x AA Alkaline or NiMH Rechargeable Batteries (6V DC total)
- Optional AC Adapter: 6V / 1A (Model # PSU-6V1A)
- Motor Type: High-speed brushed DC motor
- Blade Assembly: Helical steel, self-centering
- Material: ABS plastic and metal internal components
- Dimensions: 3.5 in (W) x 5.0 in (L) x 4.0 in (H)
4. Tools & Replacement Parts
Tools Required
- Small Phillips screwdriver (Size #0)
- Small flathead screwdriver
- Needle-nose pliers
- Anti-static gloves (recommended)
Replacement Parts
- Blade Assembly (Part # BA-4D9FA8)
- Motor Drive Gear (Part # MDG-4D9FA8)
- Battery Compartment (Part # BC-4D9FA8)
- Circuit Board (Part # CB-4D9FA8)
- Rubber Foot Pads (Part # RFP-4D9FA8)
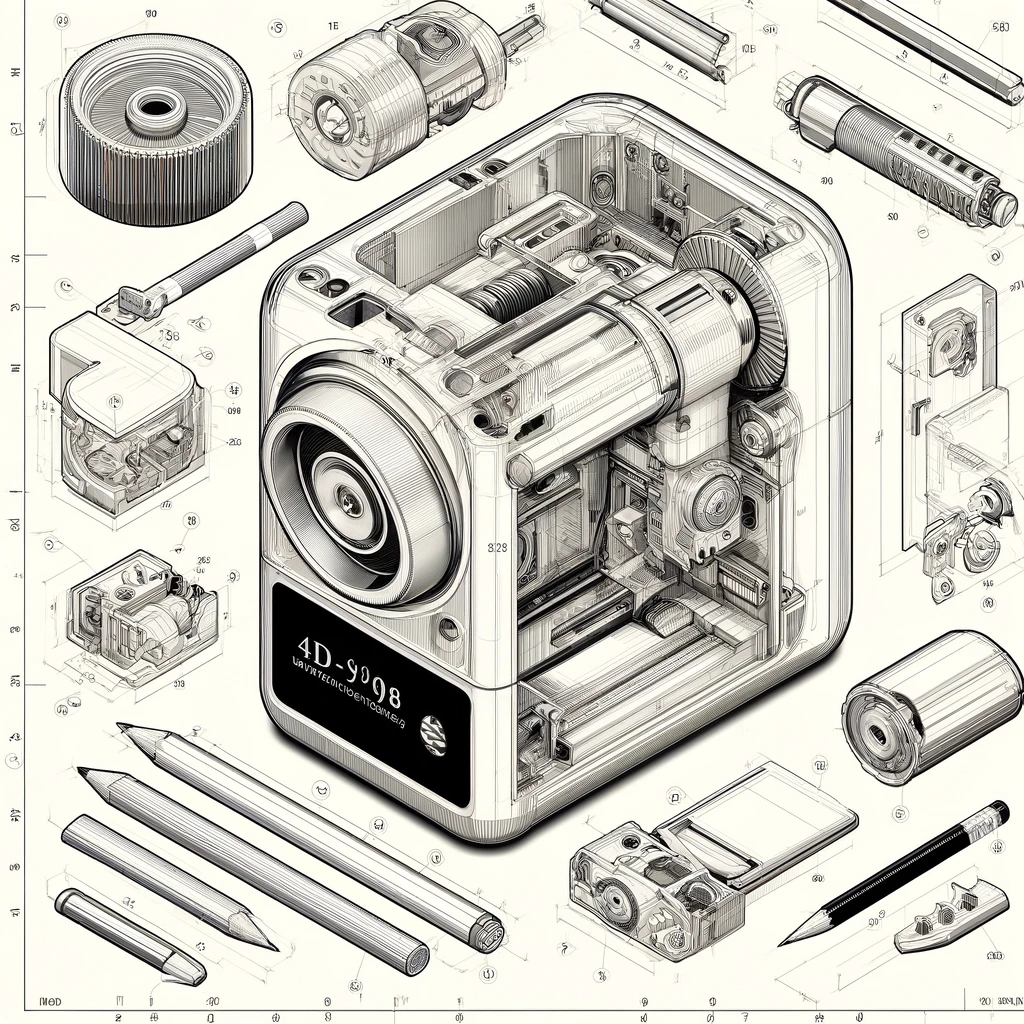
5. Component Diagram & Part Numbers
6. Disassembly Instructions
- Remove the Batteries
- Open the battery compartment door.
- Take out all four AA batteries.
- Set them aside.
- Remove the Shavings Receptacle
- Slide or pull out the receptacle from the front of the sharpener.
- Empty any pencil shavings.
- Detach the Top Housing
- Locate the two Phillips screws underneath the sharpener (near the front and back edges).
- Use a Phillips #0 screwdriver to remove these screws.
- Gently lift and remove the top housing (Part # TH-4D9FA8).
- Access the Internal Components
- The blade assembly (BA-4D9FA8) and motor drive (MDG-4D9FA8) are now visible.
- The circuit board (CB-4D9FA8) is usually mounted to the side or underside of the motor.
- The battery compartment (BC-4D9FA8) is beneath the motor assembly.
- Disconnect the Circuit Board Connections
- Carefully unplug the power leads from the battery compartment to the circuit board.
- If removing the motor, unplug or unsolder (depending on design) the motor leads from the circuit board.
7. Common Repair Procedures
7.1 Replacing the Blade Assembly
- Remove Retaining Screw
- Locate the small retaining screw holding the blade assembly to the motor drive shaft.
- Use a small flathead or Phillips screwdriver to remove it.
- Slide Off Old Blade Assembly
- Gently pull the assembly off the shaft. If stuck, use needle-nose pliers and twist carefully.
- Install New Blade Assembly
- Align the new blade assembly (Part # BA-4D9FA8) with the motor shaft’s flat edge.
- Slide it onto the shaft until it fits snugly.
- Reinsert and tighten the retaining screw.
- Test Fit & Rotation
- Manually rotate the blade assembly to ensure smooth movement.
7.2 Repairing the Motor Drive
- Remove the Motor Drive Gear
- If the gear (Part # MDG-4D9FA8) is worn or broken, remove the retaining ring or screw.
- Lift the gear off the motor shaft.
- Examine the Motor
- Inspect for excessive carbon dust around the motor brushes.
- Clean with a small brush or compressed air if necessary.
- Install New Gear
- Align the new gear with the shaft’s key or flat edge.
- Press firmly into place.
- Secure with the retaining ring or screw.
- Lubricate (If Required)
- Apply a small drop of multi-purpose grease to the gear teeth.
- Avoid over-lubrication; excess grease may attract shavings.
7.3 Replacing the Battery Compartment
- Disconnect Wires
- Carefully note the polarity or label the wires.
- Unclip the battery leads (red and black) from the circuit board.
- Remove Old Battery Housing
- Unscrew or unclip the compartment from the base.
- Lift it free.
- Install New Battery Compartment
- Place the new compartment (Part # BC-4D9FA8) in position.
- Secure with the original screws or clips.
- Reconnect the leads to the circuit board, ensuring correct polarity (red to positive, black to negative).
- Check Fit
- Ensure the compartment door opens and closes correctly.
8. Troubleshooting Guide
Use this table for quick diagnosis and repair:
| Issue | Possible Cause | Solution |
| Sharpener won’t power on | 1. Dead batteries2. Loose wiring | 1. Replace or recharge batteries.2. Check battery leads, tighten or reconnect as needed. |
| Excessive noise or vibration | 1. Worn motor gear2. Loose blade | 1. Replace motor drive gear (MDG-4D9FA8).2. Re-tighten or replace blade assembly (BA-4D9FA8). |
| Shavings collector jammed | 1. Foreign object2. Overpacked | 1. Remove any obstructions.2. Empty the receptacle and clean the area. |
| Blade not sharpening properly | 1. Dull blade2. Misaligned blade | 1. Replace the blade assembly (BA-4D9FA8).2. Re-seat blade assembly on motor shaft. |
| Intermittent operation | 1. Weak batteries2. Loose switch | 1. Use fresh or fully-charged batteries.2. Inspect the auto-stop sensor for debris or damage. |
9. Maintenance Tips
- Clean Regularly
- Empty the shavings receptacle before it’s full.
- Wipe the exterior with a damp cloth (batteries removed) to remove dust.
- Blade Care
- Periodically rotate the pencil sharpener’s blade assembly manually to prevent rust spots.
- If using for heavy workloads (e.g., in a classroom), replace blades every 6 to 12 months.
- Battery Care
- Remove batteries if storing the sharpener long-term.
- Replace or recharge batteries at the first sign of power loss.
- Storage
- Keep in a cool, dry place.
- Avoid direct sunlight or extreme temperatures.
10. Warranty & Support (Fictitious)
All repairs and replacements should be done using genuine 4D-9FA8 parts. Improper repair, the use of unauthorized parts, or any modifications voids the fictitious warranty. For any additional questions, technical support, or feedback, contact:
- Support Center: 1-800-FAKE-NUM (Available Mon-Fri, 9 AM to 5 PM)
- Email: support@ .com (Fictitious)
- Website: www.4DSci.com
Disclaimer
This repair manual is entirely fictitious and is intended for training or demonstration purposes. Any resemblance to actual products or service instructions is purely coincidental.